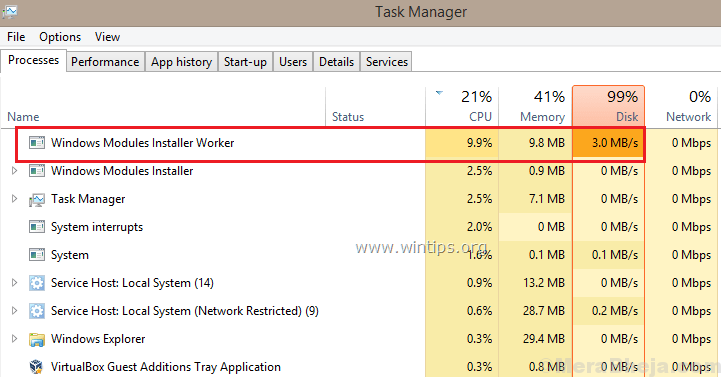
Windows Module installer is a windows service that is used to update system components. It’s a background service which constantly searches for latest updates and ques them for installation for the user.
It is this nature of the service which can become the Achilles heel for some older or low-end systems which can cause the computer to stop working or hag up completely. Luckily this service can be turned off and there won’t be any issues with your day to day usage.
Fix: Turning off automatic updates in Windows
This is the easiest method you can follow for fixing your high CPU usage issue.
Steps:
- Goto Settings > Updates and Securities
- Then Click on the pause update for 7 days multiple times until its grayed out.
Note: This is a quick fix and not a permanent one as after 4-5weeks the process will start again.

Fix 2: Changing the updater to manual from automatic
Steps:
- Press Windows + R key and open Run.
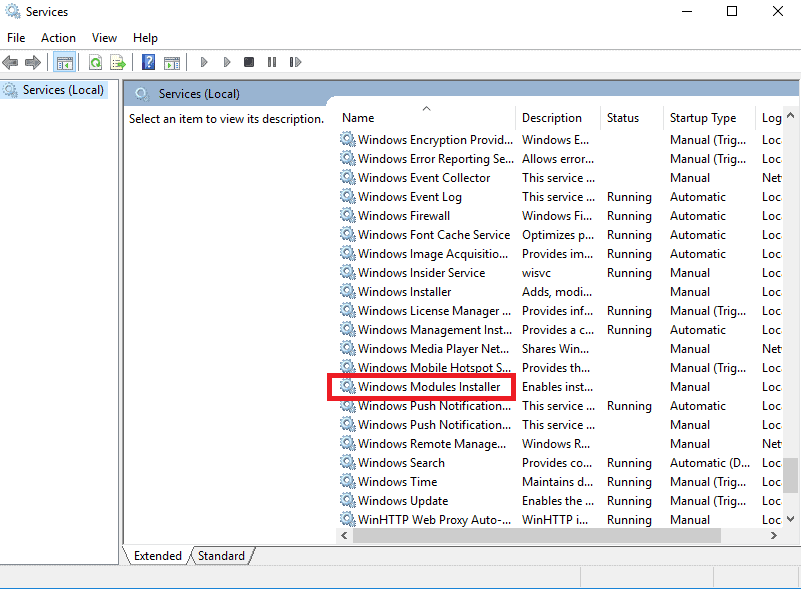
- Type services.msc and click enter
- After the window appears, search for Windows Module Installer and double click on it.
- On the popup window, change the automatic option to manual and click ok.
- Reboot your computer and go to Settings > Updates and Securities and check whether there are any updates going on.

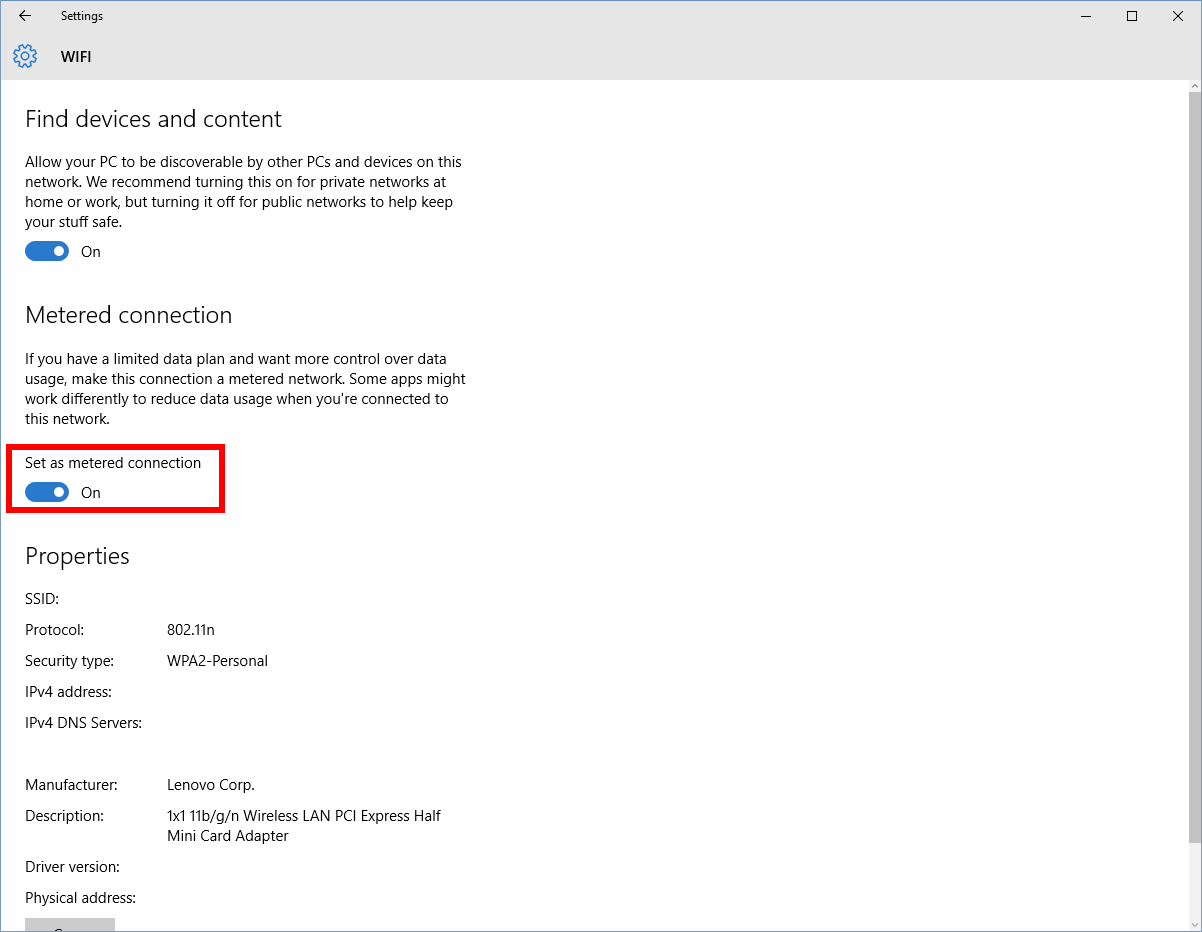
Fix 3: Changing your network to metered connection.
This is an easy and very effective method but you would have to do this every time you connect to a new network whether it’s a Wi-Fi or ethernet.
Steps:
- Go to Settings > Network and Internet.
- If you are on Wi-Fi, click on the Wi-Fi signal icon and scroll down and check the set as metered connection to On.
- If you are on Ethernet, click on the ethernet icon and scroll down to the set as metered connection toggle and turn it to on position.
- After doing this, the updater service won’t be able to download any updates thus leading to the process being running idle.

Fix 4: Deleting Software Distribution Folder
Often a times windows will store the updates in a folder inside its core folder and sometimes deleting the folder makes it unable to update and thus resulting in not running the process at all. To do this follow these steps;
Steps:
- Goto C:\ Windows and find the Software Distribution folder.
- Enter the folder and delete the files inside the folder.
Sometimes however, corrupted update files can cause High CPU usage as a result clogging and hanging up the computer. If in any case the update files are corrupted then simply deleting the files would cause more issues than fix it. To fix this there are a few more steps you have to follow before you delete the folder.
Steps:
- Open the Task Manager and find the windows updater process.
- Click on the task and click End Task.
- Close the task manager and go back to the C:\Windows and delete the Software Distribution folder.

Conclusion
Now you should have fixed your issue by now. If not the Redo the steps or try the other steps mentioned. If none of the steps above do anything and you are still getting High CPU usage then there is something else that’s using up your resource and causing it to look like a Windows process but in reality, its nothing but a malware. If that is the case, then perform a scan on the windows defender and check for any malware detected. If nothing works at the end, a fresh install of Windows is the best way to go.
