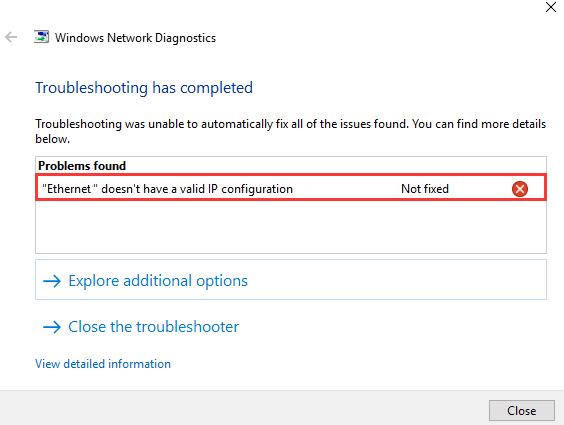
IP Address is very important and it is used by devices to communicate with each other over the internet. IP Addresses can have some problems and one such problem is when you are using Ethernet Connection and receive an error “Ethernet doesn’t have a valid IP configuration”.
This error occurs because your PC is unable to obtain a valid IP from the DHCP (Dynamic Host Configuration Protocol) server i.e your modem or router. By default, this happens automatically but sometimes there can be an issue due to which your PC is unable to get a valid IP address.
There can be many reasons why this problem arises but the common one includes faulty or outdated network drivers, incorrect network settings. There are also some other reasons why you may be facing this issue. Here are a few simple fixes on how you can fix ‘Ethernet doesn’t have a valid IP configuration’ error.
Fix 1: Rebooting your PC and the router
The first thing that you should do is just reboot your PC and also your router/modem. Sometimes the problem is temporary and can be fixed easily by just rebooting your PC and Router.
Turn off your PC and your router. Wait for a few minutes and after that turn them on and see if the problem still persists.
Also, try checking out the Ethernet cable with any other router and see if it works or not. If it does then the problem lies within the router, however, if it doesn’t then the problem is with your and not the router.

Fix 2: Checking the Network Settings
By default, your PC is designated to automatically get a valid IP address from the router. However, sometimes there can be some problems with the settings due to which you are receiving this error.
Here is how you can check and fix the network settings:
- Open the Run box by pressing Windows + R key.
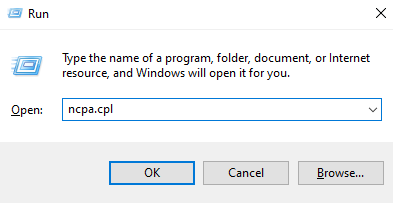
- In the Run box, type ncpa.cpl and press Enter or go to Start > Control Panel > Network and Sharing Center > Change adapter settings.
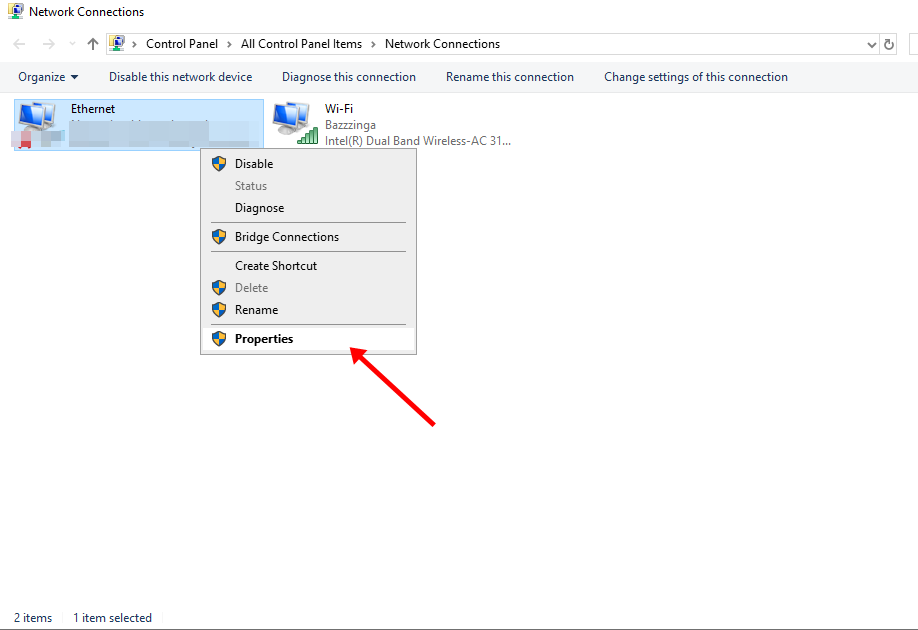
- Right-click on your Ethernet Network and select Properties.
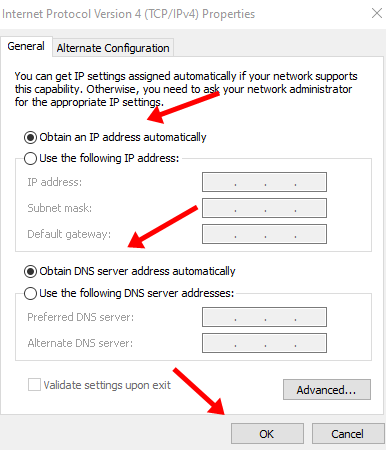
- Now, select Internet Protocol Version 4 (TCP/IPv4) and click on Properties.
- Make sure that the following options are select;
- Obtain an IP Address Automatically
- Obtain DNS Server Address Automatically
If obtaining the IP address and DNS automatically doesn’t help then you can consider adding IP Address and/or DNS manually.
Fix 3: Disabling IPv6
For some people, their ISP doesn’t support IPv6, and disabling IPv6 fixes this problem. You can also try disabling IPv6 and see if the problem is fixed or not:
- Invoke the Run box by pressing Windows + R key.
- In the Run box, type ncpa.cpl and press Enter or go to Start > Control Panel > Network and Sharing Center > Change adapter settings.
- Right-click on your Ethernet Network and select Properties.
- Uncheck Internet Protocol Version 6 (TCP/IPv6) and click on OK.
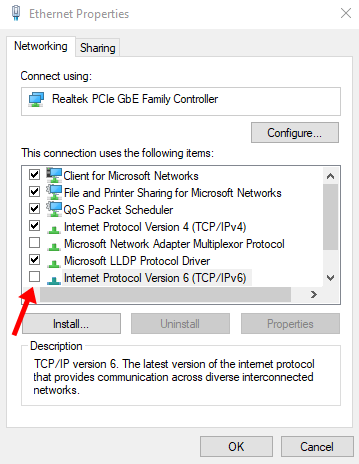
IPv6 will be now disabled. Now, reboot your PC and see if the problem is fixed!
You can also Disable IPv6 from Registry Editor too. Here is how you can do so:
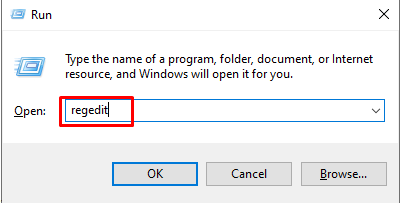
- Open the Run box on your PC by pressing Windows + R key at the same time.
- In the Run box, type regedit and click on OK.
- Navigate to HKEY_LOCAL_MACHINE\SYSTEM\CurrentControlSet\Services\TcpIP6\Parameters.
- Right-click in the main Registry Editor pane and select New > DWORD (32 bit) Value.
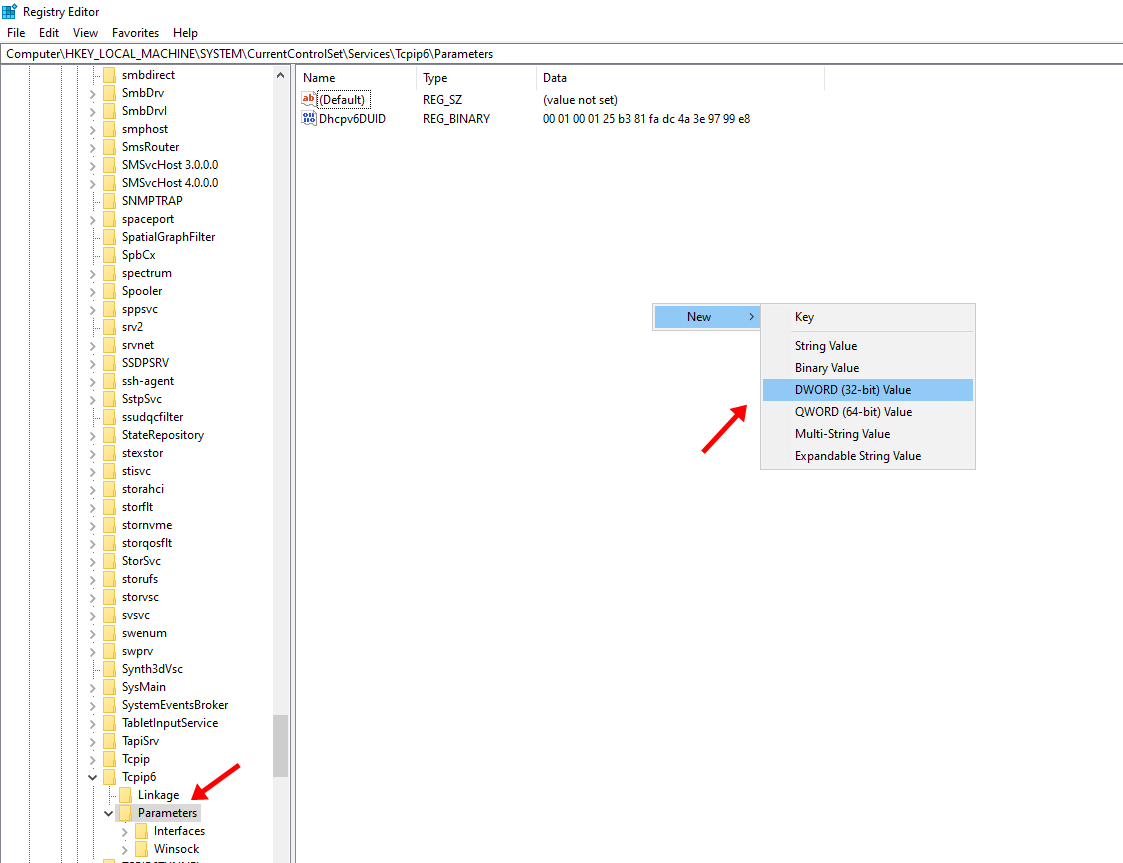
- Rename the newly created entry as DisabledComponents.
- Now, double click on the DisabledComponents entry and set the Value data ffffffff and click on OK.
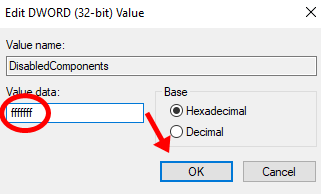
- IPv6 will be disabled, now just restart your PC.
If you face any other problems after disabling IPv6 then you might have to enable IPv6 as it is an important Windows component. To enable IPv6, delete the DisabledComponents registry entry from the registry editor.
Fix 4: Resetting Winsock Protocol And TCP/IP Settings
For some users, resetting Winsock Protocol and TCP/IP Settings does the job and helps them get rid of most of the problems related to IP address, DNS, internet connection. Here is how you can reset Winsock Protocol and TCP/IP Settings:
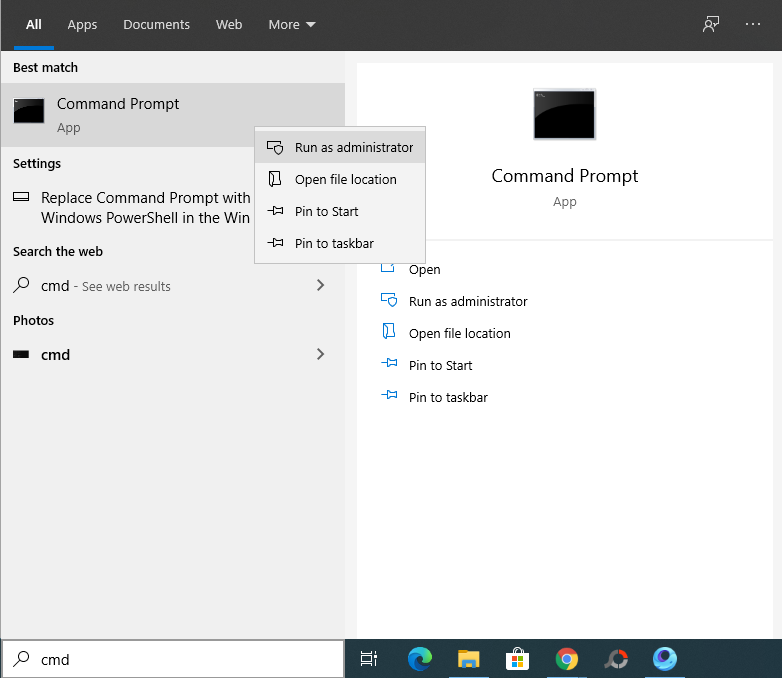
- In the Start Menu search box, type cmd.
- Right-click on Command Prompt and select Run as administrator.
- Now, type the following commands;
netsh winsock resetnetsh int ip reset
Enter both the commands one by one and after both commands have been executed, restart your PC.
Fix 5: Clearing Network Cache
Sometimes, the culprit can be an expired network cache, and clearing it solves the problem. Here is how you can clear network cache files from your PC:
- In the Start Menu search box, type cmd.
- Right-click on Command Prompt and select Run as administrator.
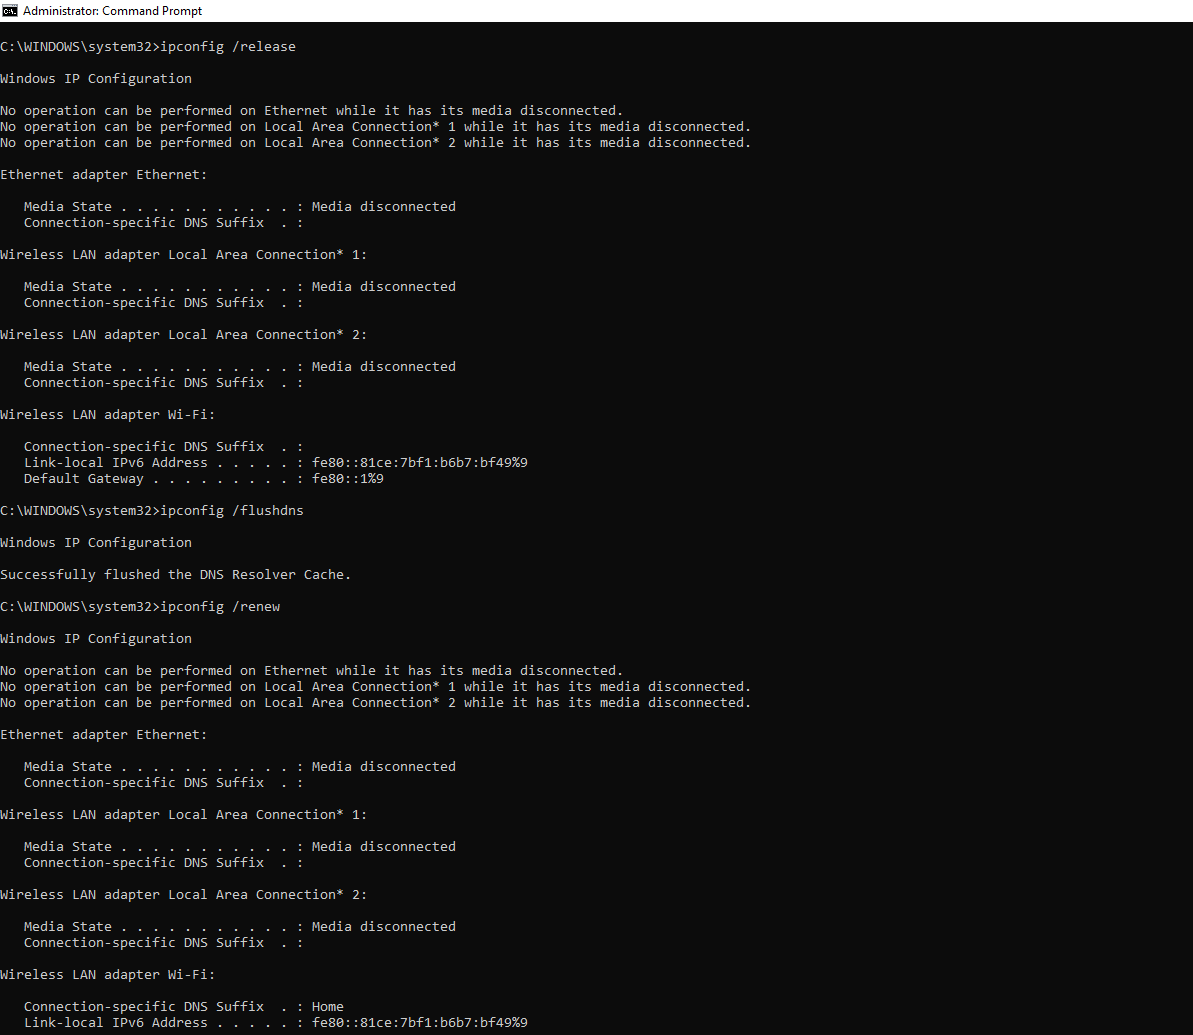
- Now, type the following commands;
ipconfig /releaseipconfig /flushdnsipconfig /renew
After all the three commands have been executed, restart your PC and see if the problem is fixed or not.