System File Checker or SFC is a built-in Windows tool that lets you repair corrupted system files in a Windows installation. It is available in all modern versions of Windows and it basically repairs any corrupted files which may be causing performance issues.
If your Windows is not functioning properly like it used to or it randomly crashes then you can use the System File Checker tool to scan and fix the corrupted files.
The sfc /scannow command (System File Check) scans all the protected system and replaces the corrupted, damaged, or incorrect files with the correct and non-corrupted versions possible. The advantage of using the System File Checker tool is that instead of re-installing Windows, you can repair the corrupted files with this tool and fix the issues.
If you have time available and are not in a hurry, then it is recommended that you perform a DISM scan before running an SFC scan.
DISM (Deployment Image Servicing and Management) is also a built-in Windows tool that uses Windows Update to provide the files which are required to fix or replace the corruptions. However, if your Windows Update client is itself broken or corrupted then you will have to use a Windows installation or Windows side-by-side folder from a USB as the repair source.
Wherever System File Checker or sfc /scannow is not able to fix the files, a DISM scan should be performed to fix as many errors as possible.
How to use the System File Checker tool?
System File Checker is a useful utility to fix the corrupted and damaged files on your PC. Here is how you can use the System File Checker on your PC:
- Invoke the Run box on your PC by pressing Windows + R key.
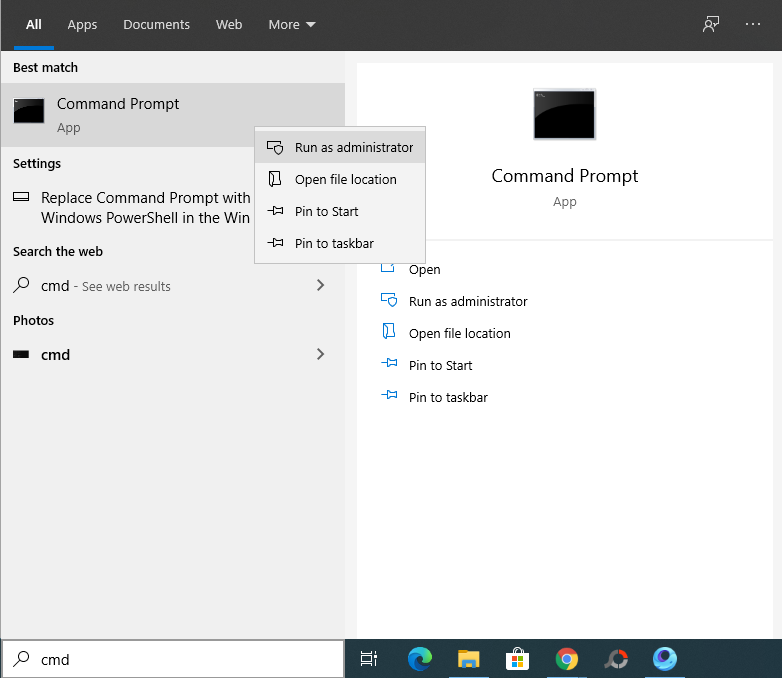
- In the search box, type cmd, or command prompt.
- On the Command Prompt icon, right-click and select Run as administrator.
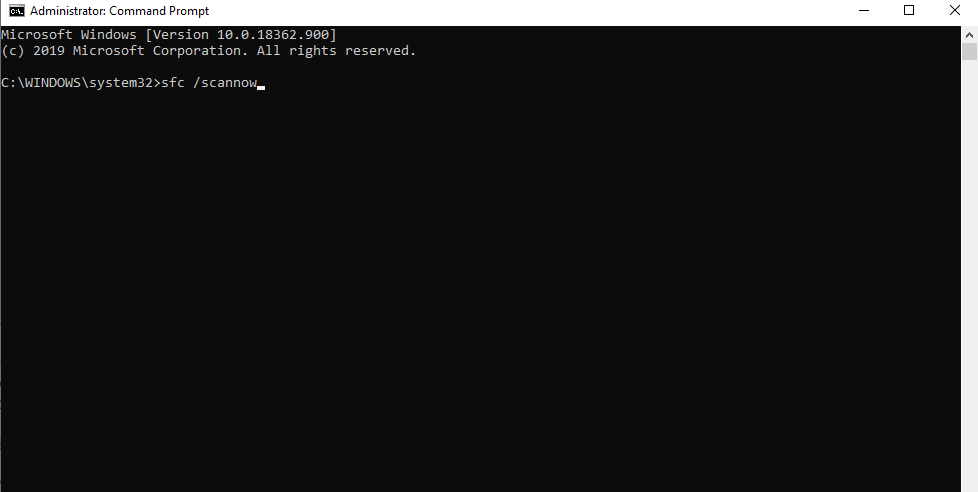
- After this operation is completed successfully, type
sfc/scannow and press Enter.
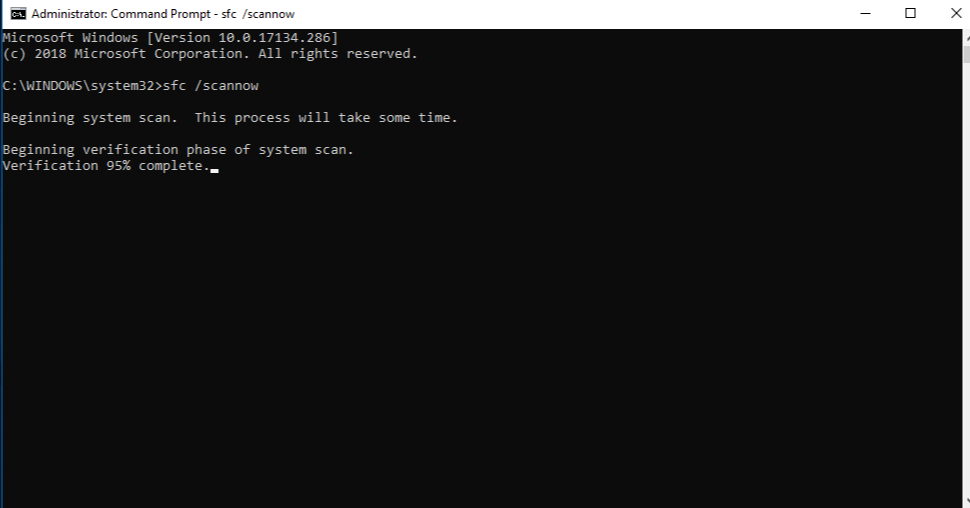
- Do not close the command prompt window unless you see a message saying “Verification 100% complete”.
After the process is completed, you will get one of the following three messages:
- Windows did not find any integrity violations: This means that the scan was successful and the SFC tool didn’t find any missing, corrupted, or damaged file.
- Windows Resource Protection found corrupt files and repaired them: This means that the scan was performed successfully and SFC utility was able to find all the corrupted and damaged files and repair them.
- Windows Resource Protection found corrupt files but was unable to fix some (or all) of them: When you receive this message then it means that the SFC tool was able to find the corrupted files but was unable to fix all or some of the corrupted files, which is not a good thing. If you get this message then you will have to perform a DISM scan to fix as many issues as possible.
How to run a DISM scan?
Running a DISM scan is easy and the process is the same as the sfc /scannow command. Keep in mind that the DISM scan is available for computers that are running Windows 8 and later.
Here is how you can run a DISM scan on Windows 8 and above:
- Open Command Prompt with admin privileges as mentioned above.
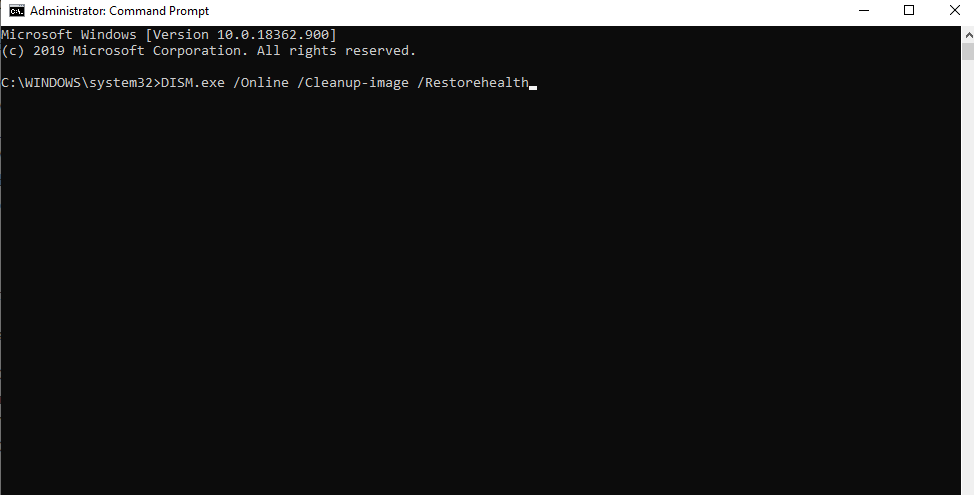
- In the Command Prompt window, type the following command;
DISM.exe /Online /Cleanup-image /Restorehealthand press Enter.
- The process will take a few minutes to start and can take up to 30 minutes to be completed depending on the corruption and size of the partition.
- Once the DISM scan is completed, you should re-run the
sfc /scannowcommand to make sure that all the issues were fixed.