In a Windows PC its not so common to run into to random BSODs but the error WHEA Uncorrectable error can often even though there is no underlying issue with your system. As the errors are quite intricate for someone who is not as aware technically. Fixing it can be quite easy sometimes even for someone who is an amateur when coming to system troubleshooting. As for the others this guide is for them.
Issues that can cause the WHEA Uncorrectable BSOD errors are not a lot but they range varying types:
- Faulty hardware components such as HDDs or the processor
- Issue with CPU and system component voltage
- Overheating hardware component like the CPU, GPU or HDD.
- Driver issues with one of your hardware components
- File System errors
- Bugged or faulty windows update (beta software)
These issues can generally fixed so follow the steps for the error you suspect is happening for you.
Reinstall your RAM/Memory Modules
This a very easy thing to do all by yourself. If you are not too confident going inside your system physically then probably get a technician for yourself. For laptop owners contact the service technician only.
For those who are willing to this on their own:
- Open all of your power and peripheral cables from the PC tower.
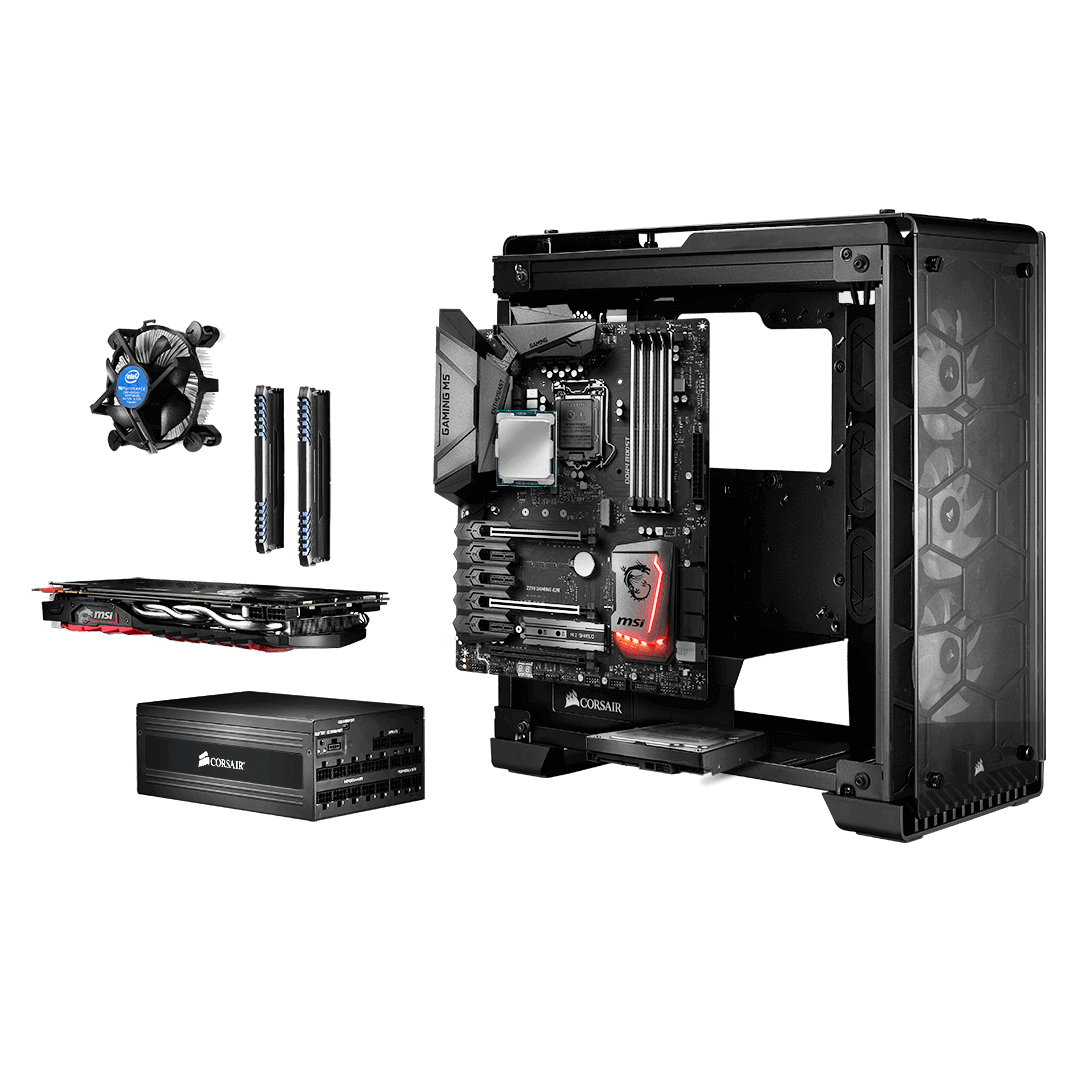
- Open your side panel and you will see a long stick.
- If you have more than one, then take all of them out and re-insert them just as they were before.
- Connect everything back and turn your PC back on.
- This should boot up to windows properly without any BSODs.
Note: If your PC still has issues then try other methods.

Check the drivers on your system
Some people might face this issue due just to just corrupted drivers. This can be easily fixed by uninstalling and reinstalling the drivers but the first you have to identify which one it is.
To find that, follow these steps:
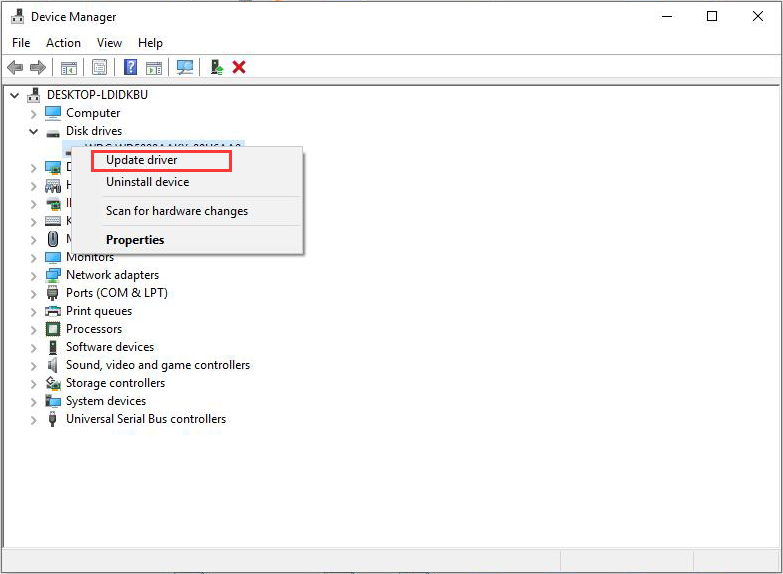
- Open device manager by right clicking on the windows button and clicking on device manager.
- Once the device manager is opened, click on your devices and check if any of them have any yellow exclamation over them.
- If there is any then right click on it and click on uninstall.
- After uninstalling the driver perform a restart.
- After booting up, reinstall the driver manually from the manufacturer’s website
Note: The most common driver to fail are graphics drivers and network drivers.

Disabling any Overclocks
People who overclock their components be it RAM, CPU or GPU they face this issue quiet often. This generally happens if your component doesn’t perform like it used to and cannot provide a stable overclock.
To disable any overclocks just go to BIOS and reset it for good measures. This will most likely rid you of future BSODs due to your hardware failing.

Issues caused by particular hardware
If your PC is running on older hardware, it’s quite possible one of them on your system is giving up. The most common component that causes this error is the CPU. As the CPU ages the silicon wafer degrades and cannot perform in stock frequencies and voltage. This causes the CPU to overheat and pulls too much voltage for itself and causes a mini short circuit. This sends the motherboards power controllers into surge protection mode and shuts power to the CPU causing the system to crash and show a BSOD.
The same can happen to RAM and GPU but they are less likely to have this issue cause it’s the CPU that does the heavy lifting while running the entire system and its other components.

Performing a System Restore
Modern Windows version come with a feature which backs up every week (by default) your OS and stores it as a recovery image for any unusual issues caused to the system. This recovery image can be easily restored.
To restore a backup, follow these steps:
- In the windows search bar, type system restore and you should see a restore point.
- Open the option and on the dialogue box navigate to system protection.
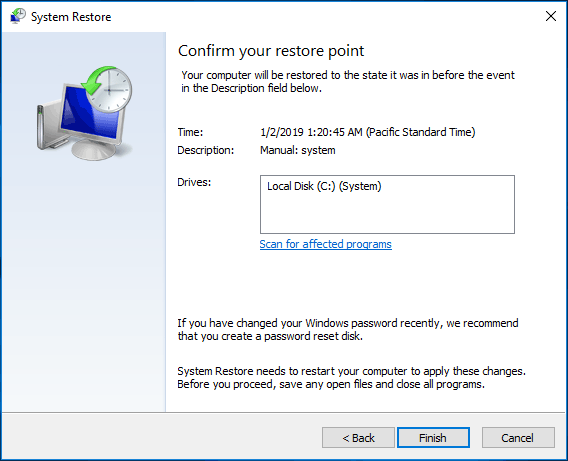
- Click on System Restore and on the new dialogue box click on next.
- Choose the restore that is the latest one you see.
- Click next and then Finish.

